
I teach a tabletop game design class and while I have lots of experience to share through anecdotal stories, sometimes they appreciates a good ol' fashioned list to help guide them through a process. Here are the fifteen steps that I follow when designing and selling a board game:

Step 1. Ideation. Come up with idea - make copious notes about theme and game play. Research related games and subject matter. Try to expand your search beyond obvious sources like Wikipedia and Google. Dive deeper and take note of words and concepts mentioned in other sources to expand your search. Or read a couple of books on the subject. Become an expert on the topic! If you put it to use, all of that knowledge will only improve your game!

Step 2. Assemble. Gather components that you think you'll need and see how well they work together. You can get them from anywhere. Other games, toy stores, internet shops. This is a big part of the fun for me. Once I get them all together, I ask myself "Is it a thing?" even before I ask myself "Is it a game?" I find this type of play really gets my creative process going. Try to give yourself a target during this process such as "I want to make a story telling game that uses dice and tokens" or "I want to make a game where little spaceships race around the galaxy carrying cargo" - see what components and player's actions would be the most fun for the actions you want to happen.
Step 3. Solo Playtesting. Start play testing your systems to see if they are "doing what you want them to do." You don't need to create an entire game to test a single system. If you have an unique combat, movement, auction, scoring or other system, why not try it out on its own first? Then, when it is doing what you need it to do, connect it to the rest of your game.


Step 4. First Public Prototype. Build a physical and/or create a digital prototype of your game. Use assets from your physical game to recreate your game on Tabletop Simulator or some other digital game playing tool. The prototype can still be very rough at this stage but you might want to consider having some components that can help get your story or theme across. I always have one "component of quality" in my prototypes to give the players an idea of what I will be shooting for.

Step 5. Play with Game Designers. Play your prototype with "trusted friends" with the intention of "breaking" it. I find that my fellow game designers are the best at this. They understand game systems so you don't have to explain to them how things are suppose to work. They can mentally apply theme to your game to help them quickly understand what type of story or game play you are presenting. Most importantly, they have an imagination, so they can visual your game at this early stage. If something breaks, fix it right there and try it out! I find that my fellow game designers are very flexible, so don't worry about confusing them with changes made during the game. They'll adapt!

Step 6. Pretty things up. Once you've nailed down your game's core rules and what components you will need to play the game, it's time to bring art up to a level that you are not embarrassed by. Some designers argue that you shouldn't spend money at this stage, but I feel that the less "imagination" your player has to use, the better they will understand what you are going for thematically or components-wise. Feel free to use Google images and pictures from other sources at this stage. As long as you aren't using them in your final game (you will always want original art and graphics for that) then you won't be violating any copyrights or creator's rights.
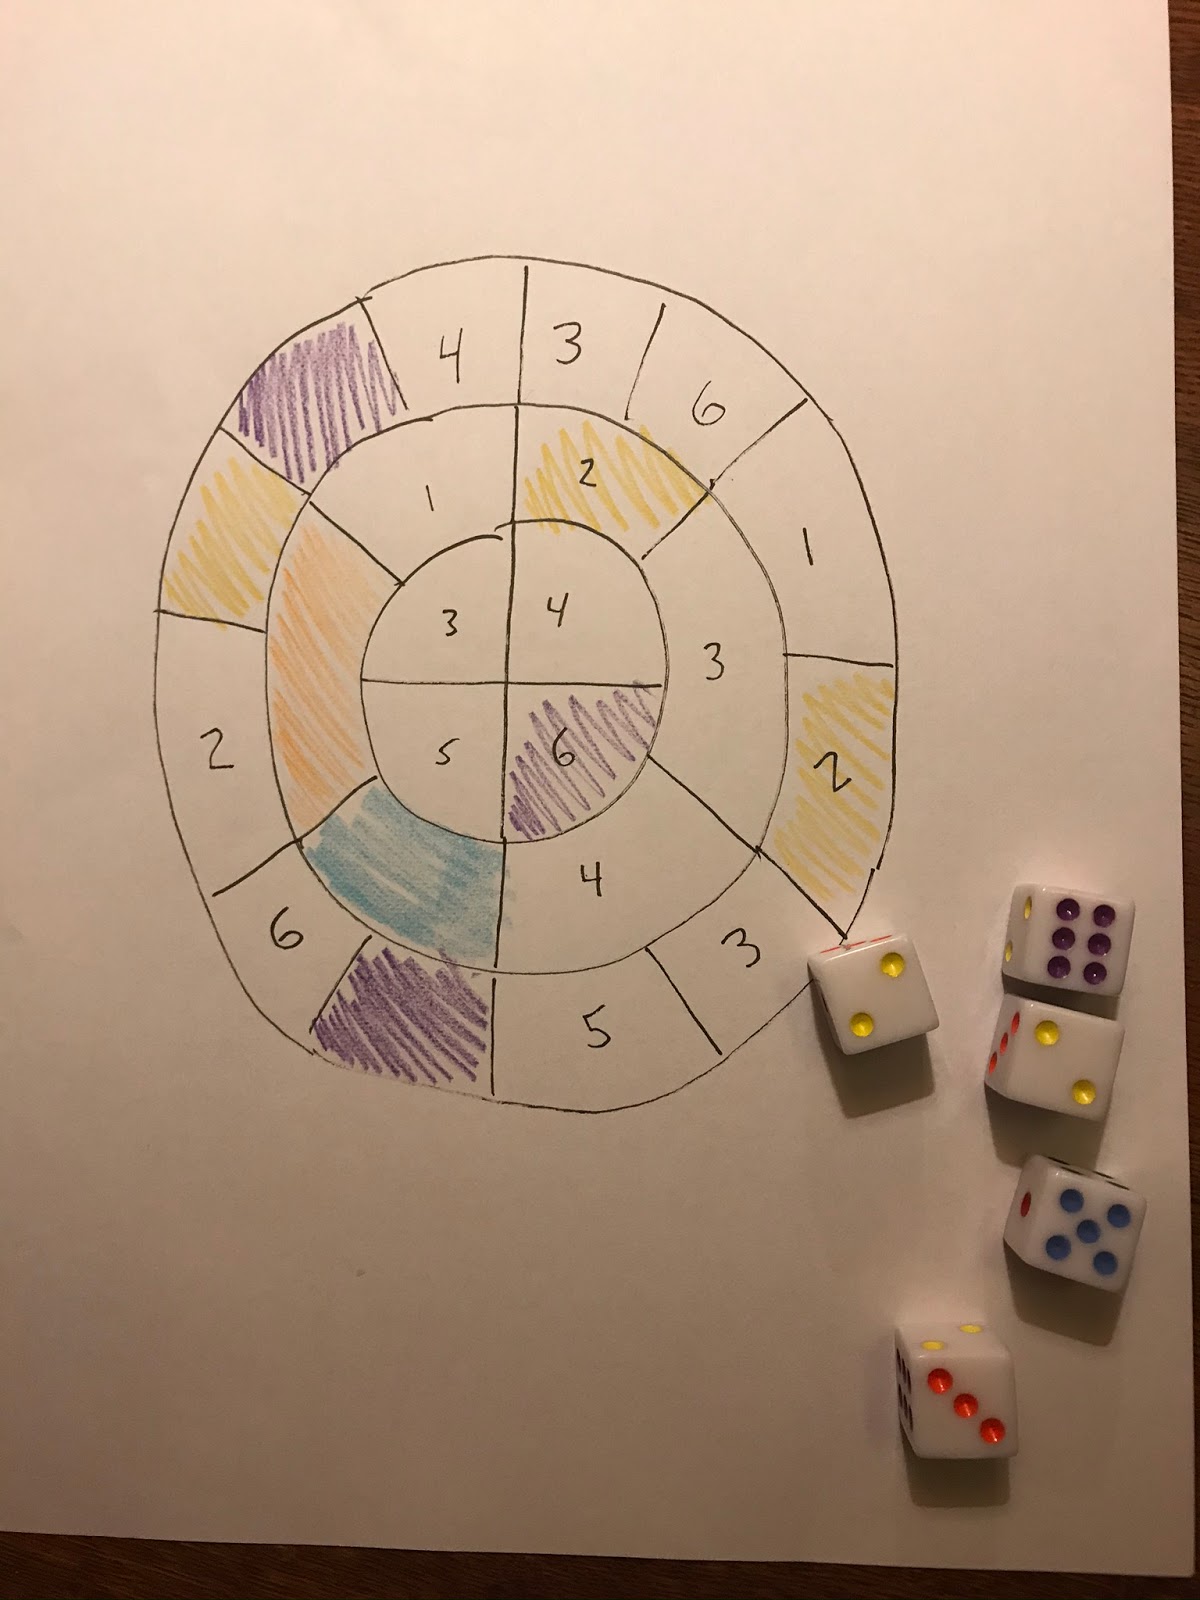
If you check out my prototypes (there are many pictures of them in this article), they are just "pretty enough" to get my ideas across. I've had some publishers compliment me on how nice my prototypes look, but I always laugh because the art and graphic design will most likely have to be totally redone for the final game!

Step 7. Get the word out! Start sharing your game on social media so people can become aware of it! Photograph some nice images of your prototype and your "trusted friends" playing it. Describe how to play the game. Discuss your development of the game and get your audience involved so they can cheer you on and be ready to buy the game when it becomes available! Create a webpage or register it on BoardGameGeek to have a place to post photos and for interested people (such as publishers) to check out your game.

Step 8. More playtesting! Share your game at play testing events - both physical and virtual. Your fellow gamers have played lots of games so they can compare what they like and don't like in your game to those other games. They might not always be able to articulate what they like or don't like about a game as well as a game designer can, so be prepared to try to coax the information out of them - in the nicest way possible. A good rule of thumb - if enough players complain about something in your game, it's an issue that needs to be fixed.
9. Quotes! Start getting quotes from printers about the cost of your game. Don't forget to include the box and the rule book in your quote. Going through this process will help you reevaluate the contents of your game. Are there any components that could be left out, saved for an expansion or made out of a different material? This is called determining the "Minimum Viable Product" and it's a great exercise to do, even if you aren't ready to self-publish your game. Some publishers are looking for games "in the $20 range" and if your game costs more, then they won't be interested. (Panda is just one of the many great companies that you can request a quote from!) A good rule of thumb is that your MSRP (manufacturer's suggested retail price) should be 5X the cost of the game. So, if you want to sell your game for $30, your production cost should be $6 a unit.

10. Rules. By now, you should have gotten enough feedback and know what components will be in your game to start writing the final rule book. If you are having trouble starting, I suggest using a recording device to describe how to play your game. Transcribe your description and use that as the foundation of your rule book. Don't forget a picture is worth 1000 words so put them into your rules so players know what components are in your game, illustrate any possibly confusing rules or interactions and don't forget to give yourself (and your playtesters) credit!

11. The Pitch! A pitch is a brief description of your game that will capture the attention and curiosity of the audience. You'll want to be able to quickly and efficiently communicate your game concept to both play testers and publishers. For example, my pitch for Who's Hue (which was published as Pantone the Game) was "A card game in which you create classic characters using colorful cards and clever clues!" (Alliteration helps me remember a pitch.) Your pitch should answer the following questions (which defers depending on the genre of the game) "What genre is the game play?" (Card game, miniatures game, dice game, etc.) "What theme is the game?" (Horror, Fantasy, Abstract, etc.) "What is the player doing?" (ie. game play) "Who is the player?" (are they themselves (party game) or are they a character?) The shorter and more intriguing your pitch is, the more likely it will capture the imagination of the audience. You can watch me pitch my games HERE and HERE.

12. Get ready to sell! Now that you have a playable game, a decent looking prototype and you have honed your pitch, it's time to promote it! There are two things every game designer needs to sell their game: a sell-sheet and a game play video. You can learn all about making sell-sheets HERE, HERE and HERE. Making a video, while somewhat daunting, doesn't need to be anything more complex that you playing a sample turn or round of your game, narrating what you are doing and why it is fun. My advice for making a video - 1. Describing how to play a game is like telling a story. Start with the premise, who the player is and how they can win. Then show what the player controls (a hand of cards, some dice, a mini with stats, etc.) and go from there. Show how the player interacts with the "world" of the game until they reach the goal. Keep it to 5 minutes or less (shorter is always better) You can watch a few of my own play-through videos HERE and HERE.
13. Choose your own adventure. At this point you have a decision to make. Do you want to sell/license your game or publish it yourself?

13a. Publisher? Investigate which publishers would be a "good fit" for the game - send sell sheet, set up appointments/video pitches. Selling your game means that you get a flat fee for the game. It also
means that you will give up all control to a publisher. They can change
it however they wish. Licensing your game means that you will get an
advance on the game (anywhere from $500 - $5K) and a royalty based on
sales (anywhere from 2% to 50%) Usually, the licensor (that's you) will
still be involved in the game's development process. It might be lightly
- helping playtest and making design revisions - or you might work with
the publisher as a partner, being heavily involved in bringing the game
to market
OR YOU CAN:

13b. Self-Publishing? Publishing the game yourself is even more work. Are you prepared to not
just continue developing the game but marketing it, contacting oversea
printers, distribution companies, the press, reach out to game stores all around the country or world to sell your game? Do you have space in your house
or garage to store thousands of copies of your game?
And if you want to sell your game on Kickstarter or Indiegogo or some other crowd-funding platform, you now have even more work ahead of you! You need to build an audience way ahead of time. Then you have to get all of the components together for the Kickstarter. This includes making a video about the game, creating art for the page, sending prototypes of your game to reviewers who will (hopefully) record a positive review of your game, deal with fulfillment companies. Do you offer your game to oversea buyers? Do you market your game on a website or some other media? How do you deal with dissatisfied customers? Self-publishing is SO MUCH work and my hat is off to anyone who "does it themselves".
And if you want to sell your game on Kickstarter or Indiegogo or some other crowd-funding platform, you now have even more work ahead of you! You need to build an audience way ahead of time. Then you have to get all of the components together for the Kickstarter. This includes making a video about the game, creating art for the page, sending prototypes of your game to reviewers who will (hopefully) record a positive review of your game, deal with fulfillment companies. Do you offer your game to oversea buyers? Do you market your game on a website or some other media? How do you deal with dissatisfied customers? Self-publishing is SO MUCH work and my hat is off to anyone who "does it themselves".

14. More Exposure! There's an old saying: "Luck is when preparation meets opportunity." You get lucky by getting your game out there and letting people know about it. Attend speed-dating events to get your game in-front of the world. Promote your work on social media. Don't be afraid to share your game (no one is going to "steal it" - we're all too busy making our own games!) Promote your game at convention and in-between play test sessions take meetings with publishers to introduce them to your game. More often than not, these meetings won't result in a sale (it's very rare to walk away from a meeting with a publisher with a deal) so don't get discouraged! It's just as important to make friends at these meetings as it is to show that you are a talented designer. You never know where a meeting with someone will lead!

15. Start all over again! By this point game is either sold or there is no interest in it. If you've sold your game, then congratulations! If you aren't having my "luck" selling it, access what might be wrong with game - ask your playtesters or publishers during meetings why they aren't interested in it.
Keep honing your game until it's something that someone might want to buy. Worse comes to worst, shelf your game. Start working on something else. Repeat steps 1-14
I hope you found these steps helpful! Good luck in making and selling your own games!


2 comments:
Thanks Scott! Great read!
Scott, thanks for taking the time to write this up and sharing the information!
Post a Comment